The first stage in developing a sales connection with a customer is generating quotes. You may prepare a quote for a client who contacts you for sales-related services that have all the details they require to meet their needs. It contains a pricing list, product description, shipping address, conditions of payment, client information, and much more. Send your customer this quotation, and if they think it’s acceptable, you may turn it into a sales order after you get confirmation from the other side. The list view of the Quotations platform in the Sales module is shown below.
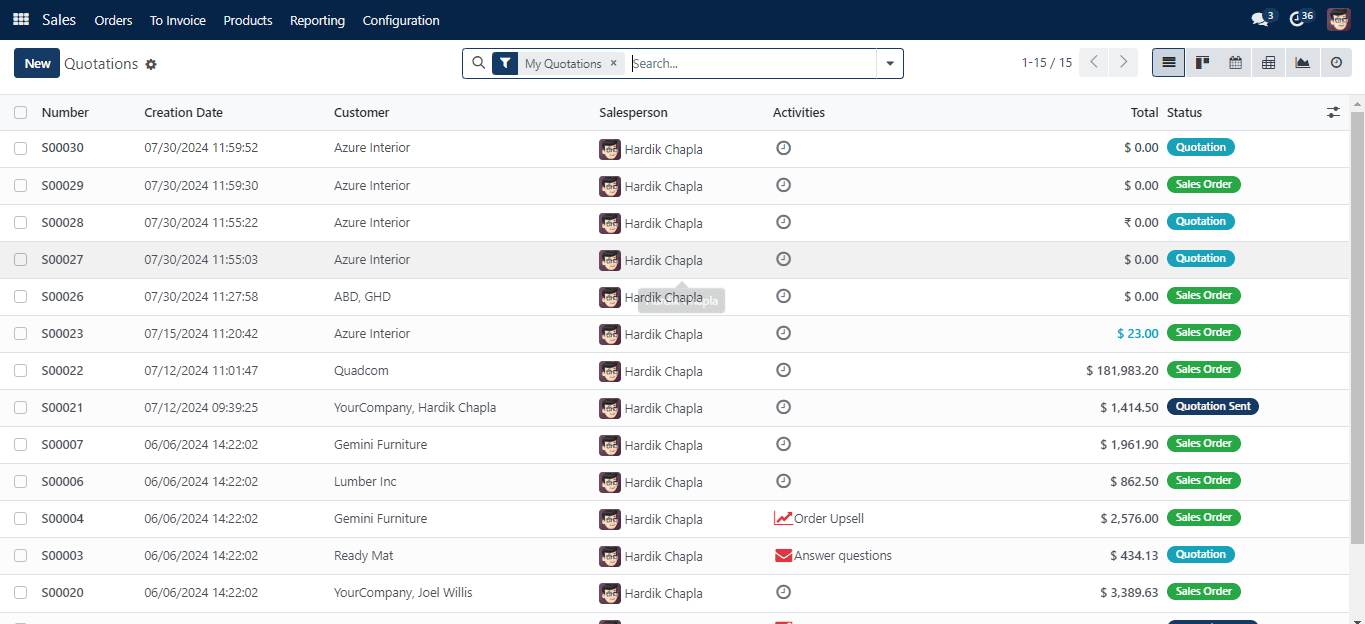
You may view previously made quotes with the following details: Number, Creation Date, Customer, Salesperson, Activities, Total, and Status. You will also receive activity, graph, calendar, kanban, and pivot views in addition to the list view. Quotations, Sales Orders, My Quotations, and Create Date are the available filters. Based on the salesperson, customer, and order date, you may organize the quotation. To generate a fresh quotation for your client, click the New button now.
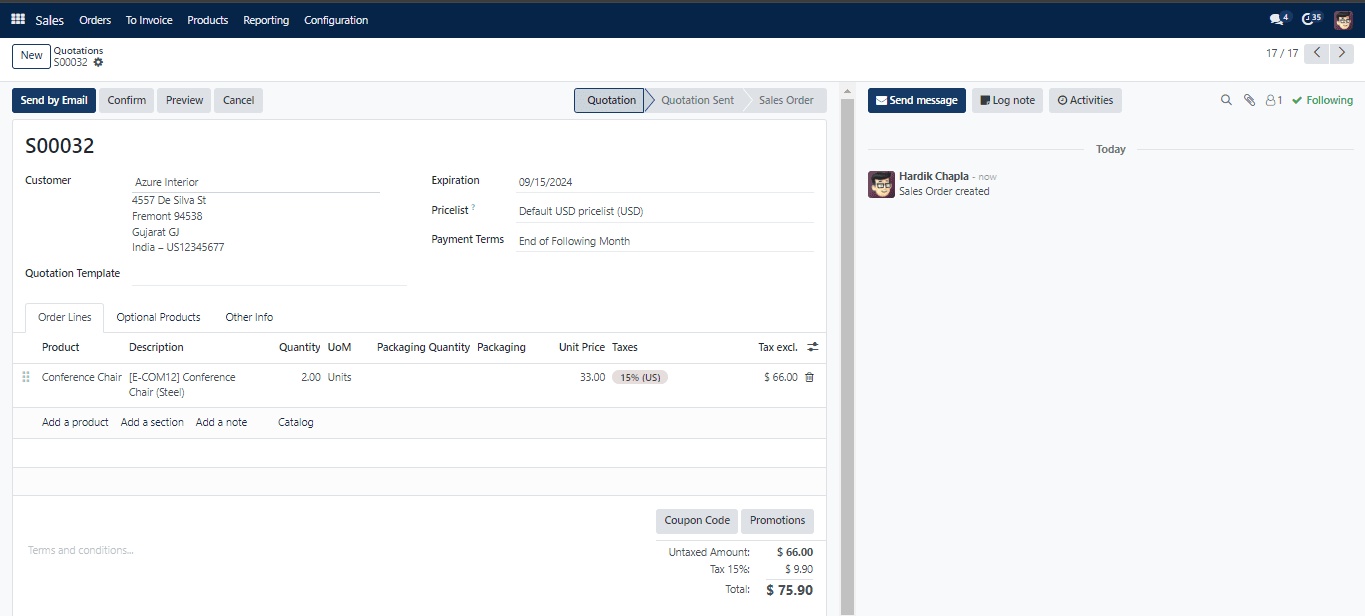
When you choose a Customer name from the list, the Invoice Address, Delivery Address, Pricelist, and Payment Terms will be presented automatically based on the pre-configured parameters. If not, you may fill in the appropriate boxes with the delivery location where you want the items to be delivered and the invoice address where you want the purchase to be invoiced. Sales order templates are created in CRM using the setup menu. These can be utilized as models for crafting relevant quotes. The quotation’s expiration date will be displayed in the Expiration. You may add the pricelist that was used for this quotation by going to the provided area. In the appropriate area, specify the customer’s payment terms.
The Sales module’s Settings menu allows you to modify the default quote validity. When you create a new quotation after doing this, the Expiration box will automatically be filled in based on the default validity of the quotation.
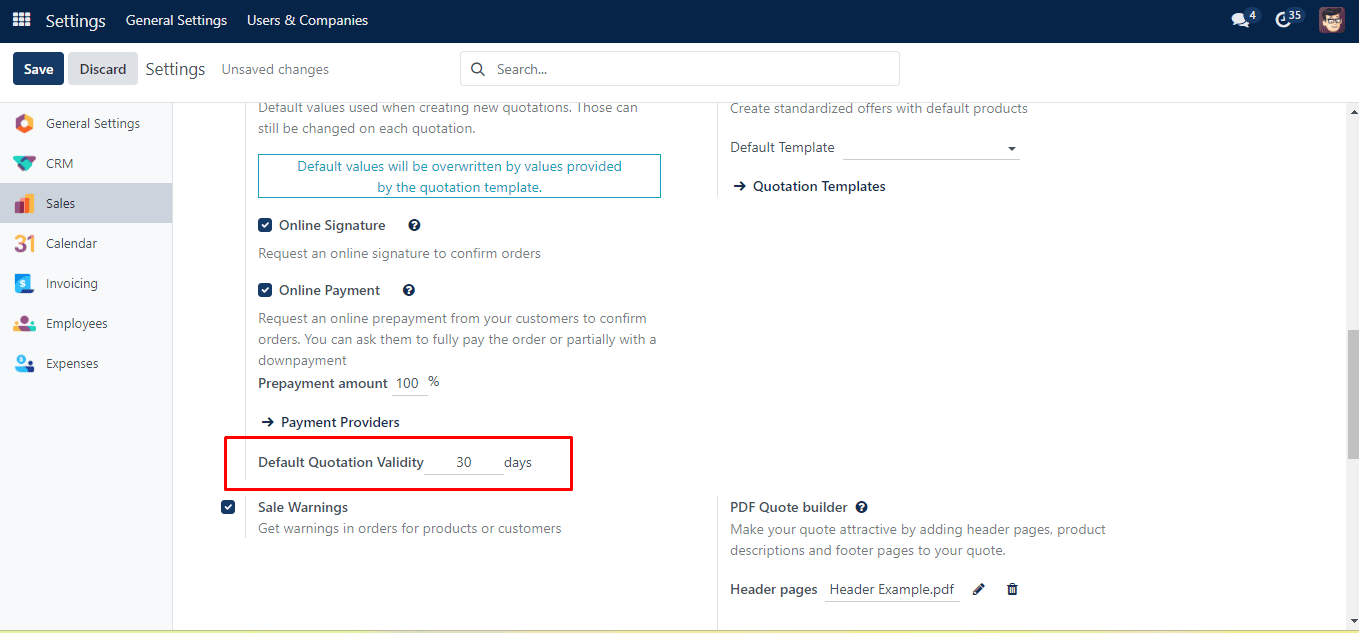
You can change the Default Limit in the provided space. You will receive the expiration date on your new quotation based on this restriction.
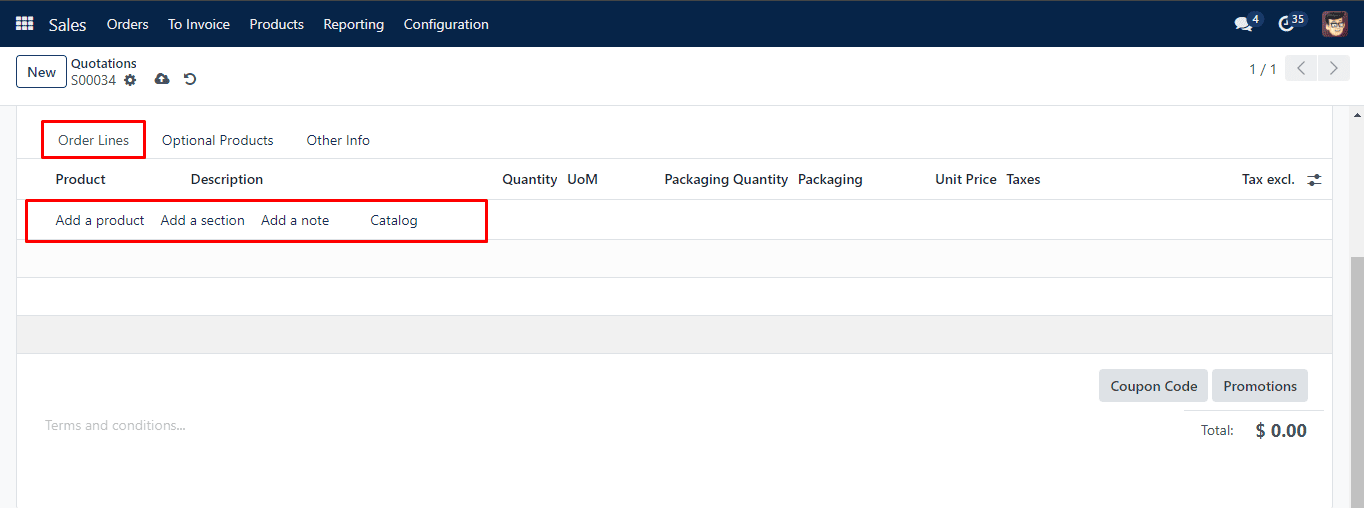
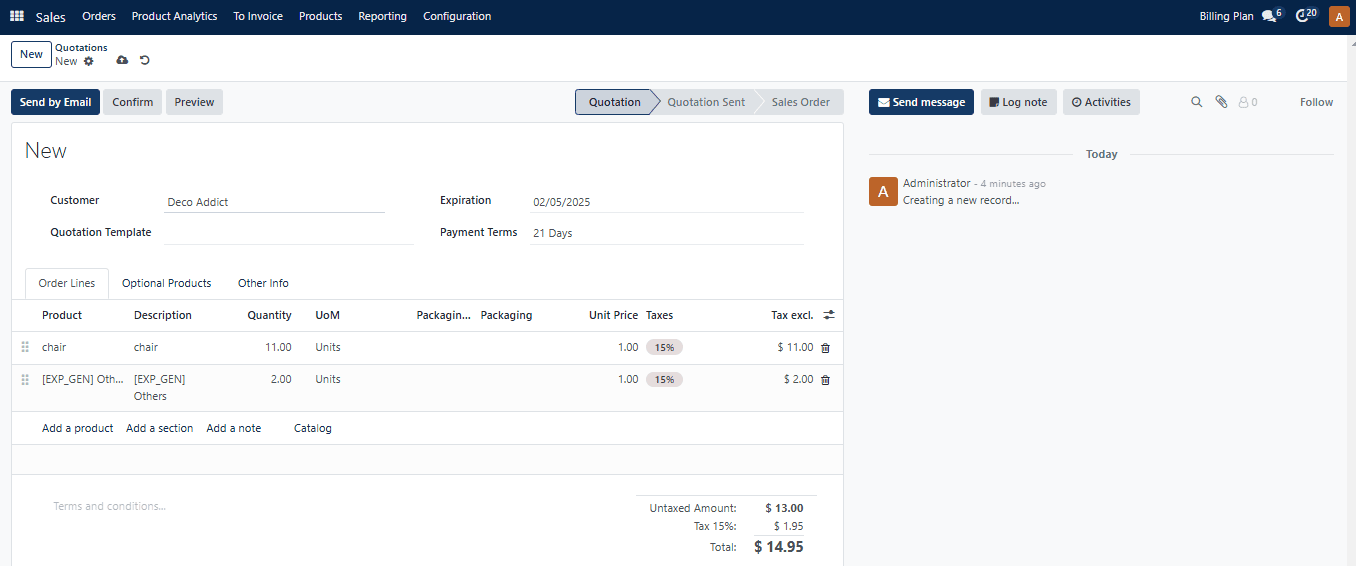
Now return to the quote creation window. Under the Order Line, you may add goods according to the customer’s specifications. To list products one by one, use the Add a Line button.
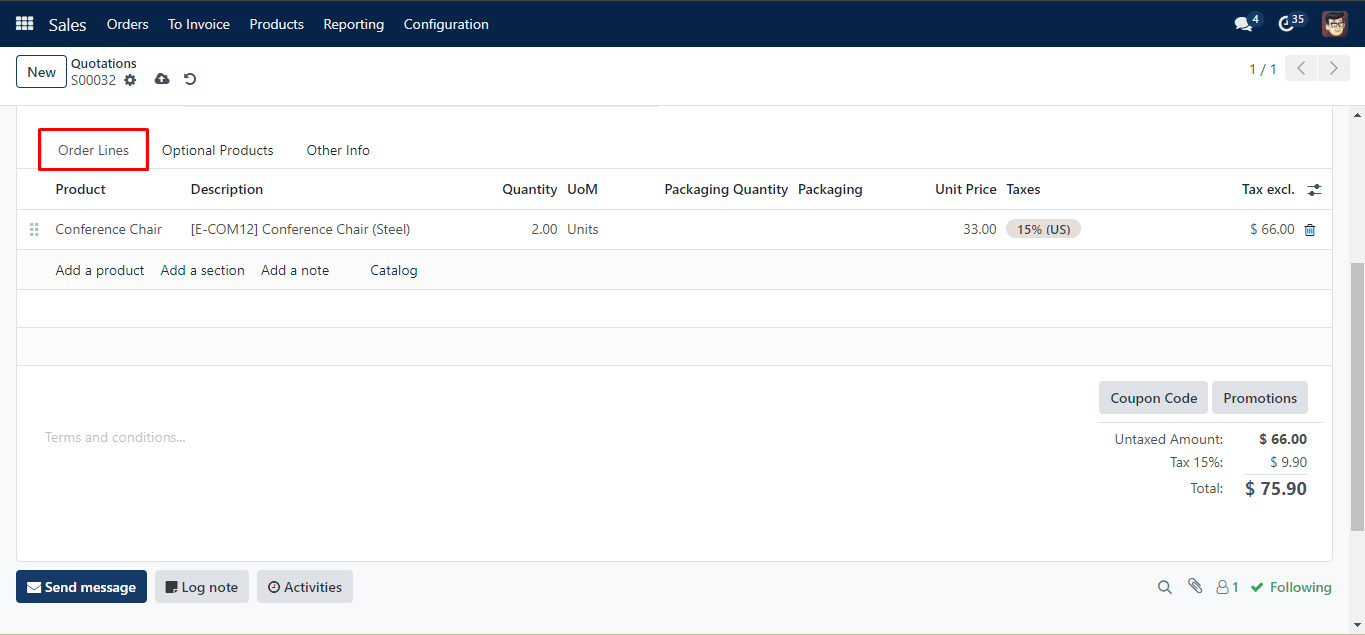
There are multiple options within the Orderline: Add product, Add section, Add note, and Catalog. Adding products to the orderline is possible with the add product option.
The Catalog is a recently added element to the Orderline. Clicking on the Catalog opens a new page, as you can see below.
The Product Catalog page lists every product that falls under each category. On the left are all of the product categories and features.
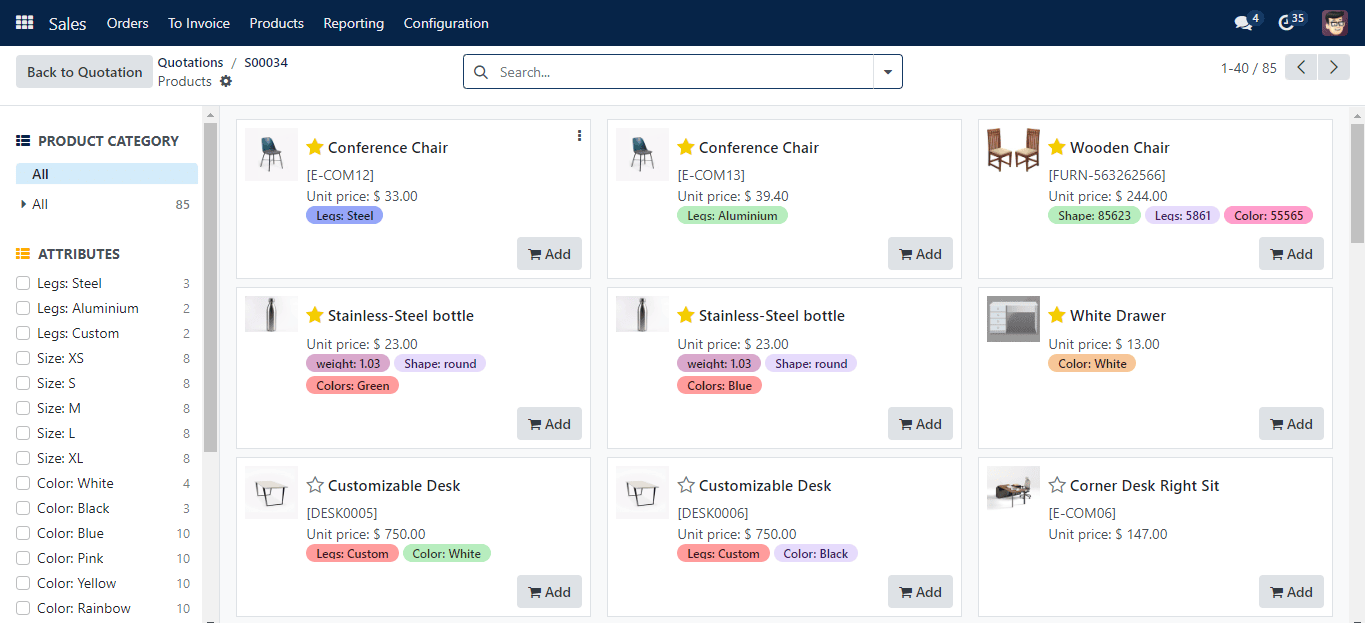
Thus, by employing them, the consumer may easily choose products from numerous categories with a variety of qualities.
All of the products that have been added to the sale order can be divided into distinct sections by using the Add Section button.

The user can add the section name as indicated in the screenshot below after selecting the Add Section button, which opens a section on the order lines.

As seen in the example below, after the products are added, the order total appears in the Order Line.
Details include Unit Price, Taxes, Discount, Product, Description, Quantity, UoM, Packaging, and Subtotal. After adding all necessary items, this tab will display the total cost. You will find more choices here to apply promotions and coupons to your items in order to receive savings. In the appropriate area, you may also define the quotation’s Terms & Conditions.

If the customer is provided an Optional Product, you can add it to the Optional Products tab by clicking the Add a Line button.
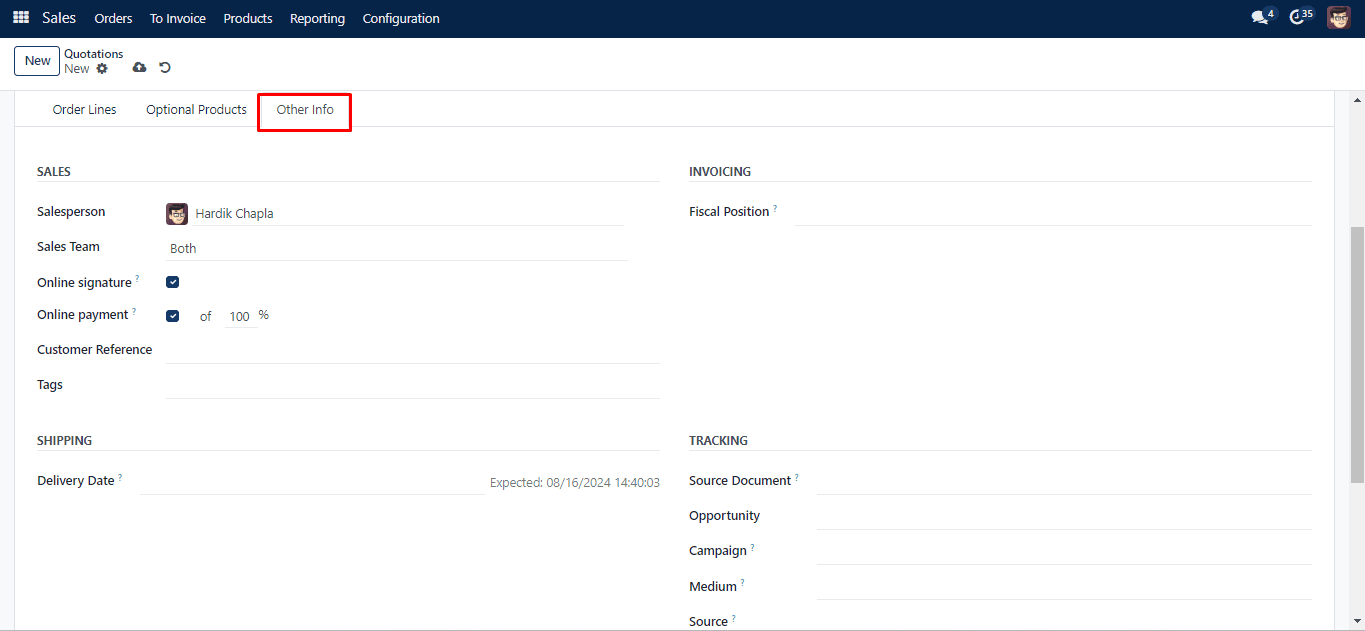
You may designate a Salesperson and Sales Team to handle this quotation under the Other Information tab.To guarantee online confirmation, turn on the Signature and Payment options. This will let the client pay online and add an online signature to validate the transaction. To obtain several versions to an order from a grid, use the Tags box to enter appropriate tags and turn on Print Variant Grids. You may include the Fiscal Position—which will be used to modify taxes and accounts for specific customers—in the Invoicing and Payment settings. Give specific Shipping Policy, and Delivery Date. You can give Source Document, for Tracking activities, Opportunity, Campaign, Medium, and Source.
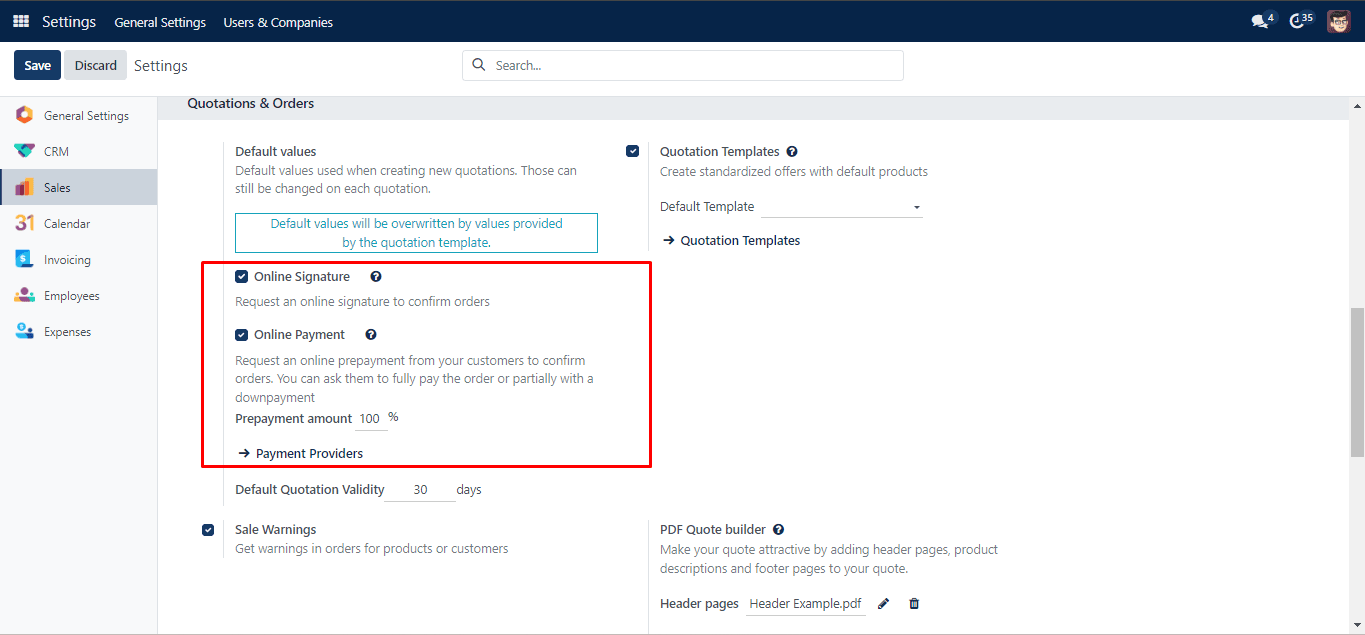
To enable the Online Signature and Online Payment features on quotes, go to the module’s Settings menu and choose the appropriate choices. You may confirm the orders by requesting an online signature and payment by turning on these options.
After producing a quotation, use the Send By Email option to send it to the appropriate customer. The specifics of the quotation will be sent to you automatically by email after you click this button.
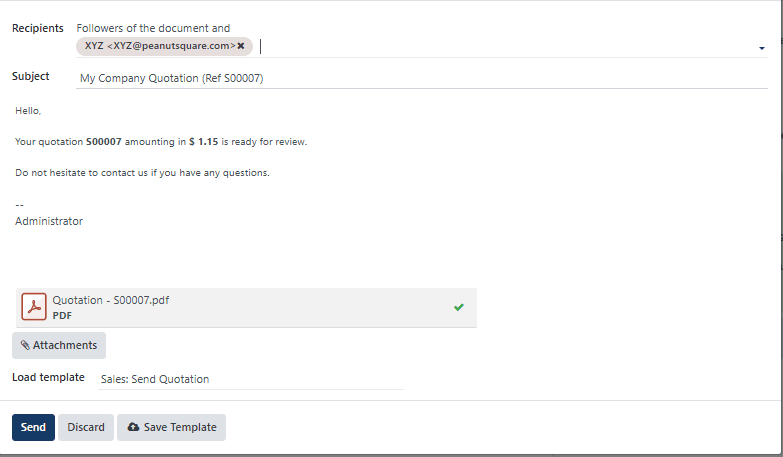
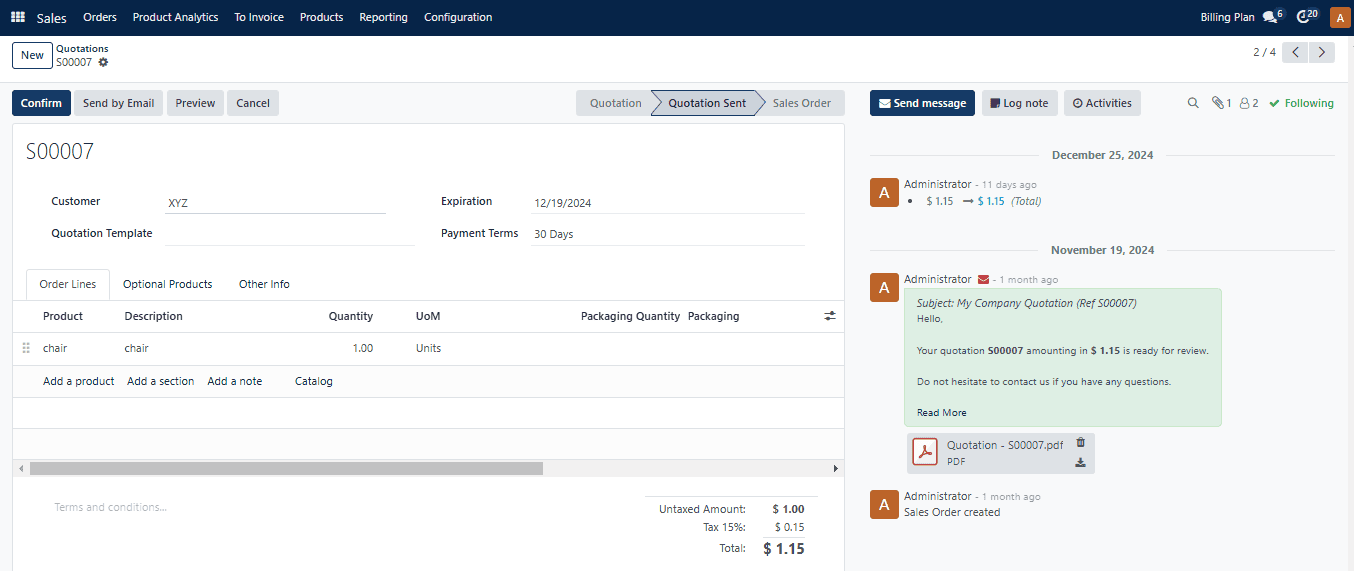
After confirming the Recipients and Subject, click the Send button. The inquiry will be sent with the letter as an attachment. The status will change to Quotation Sent when you send the quotation.
The Customer Preview will provide the with client a sneak peek at the customer portal, where they may study the specifics of the quotation and validate it by signing and finishing the payment.
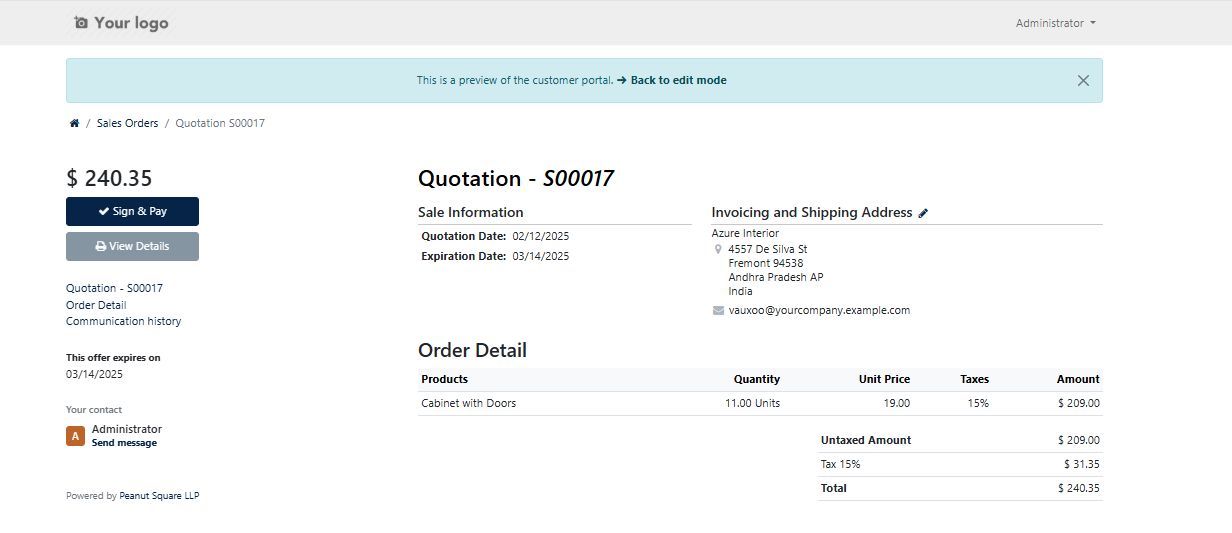
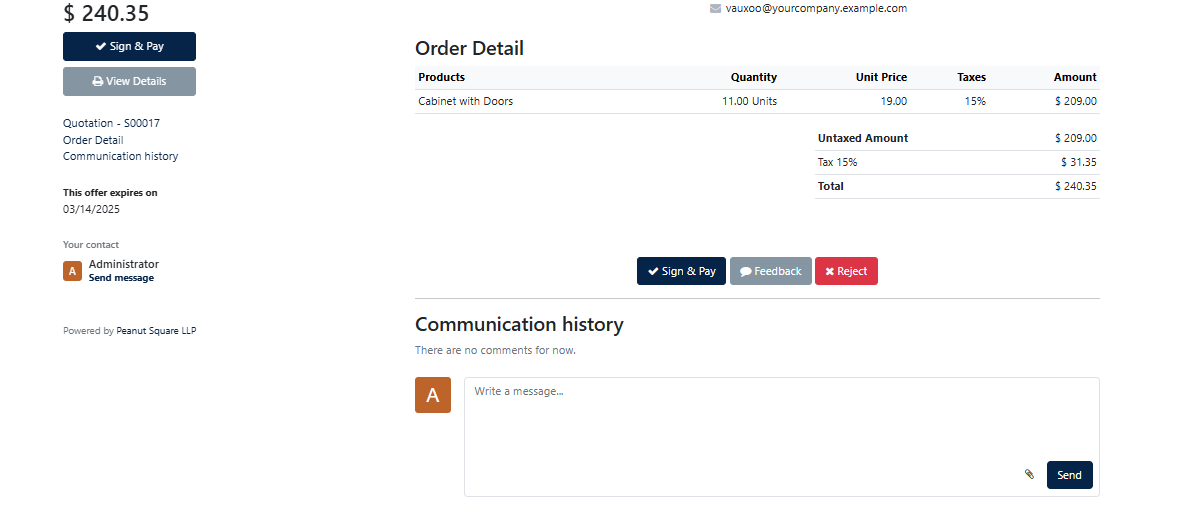
If the customer is dissatisfied with the quotation, they can click the Reject option. You can use the Sign & Pay option to verify the quotation. Sales orders will be placed once the quotation has been verified by the customer.